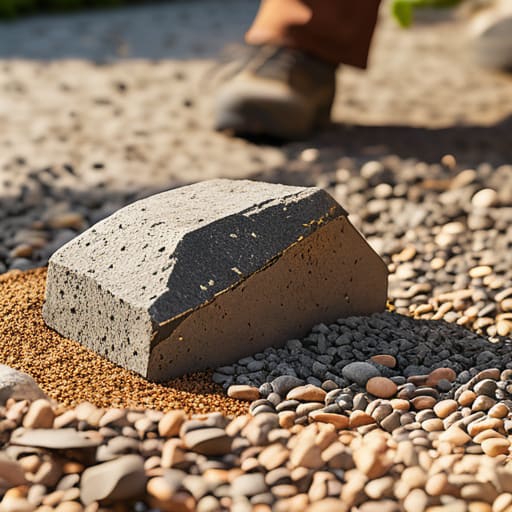

Ever wonder why some backyard retreats look like a dream while others end up looking like a neglected obstacle course after just one season? You might think that just throwing down some heavy stones and hoping for the best is enough, but let me tell you—that’s a one-way ticket to a structural nightmare! I learned this the hard way during one of my urban hiking explorations when I stepped onto a “newly built” garden path that immediately gave way, sending me stumbling into the mud. If you want to avoid that total wipeout, you need to master how to lay a patio without it sinking by focusing on the foundation, not just the pretty surface.
I’m not here to give you any of that fluff; I’m here to give you the real deal on building a base that’s as solid as your core after a heavy squat session! In this guide, I’m breaking down the exact, no-nonsense steps to ensure your outdoor space stays level and rock-steady for years to come. We’re talking proper sub-base compaction, precise leveling, and the secret sauce to preventing those dreaded dips. So, let’s get to work, because as the legends say, “You’re stronger than you think!”—and your patio should be too!
Tools & Supplies
- Shovel for excavating the area
- Plate compactor to prevent future settling
- Spirit level to ensure a correct slope
- Rubber mallet for setting stones
- Pavers or flagstones for the surface area
- Sub-base aggregate (crushed stone) for structural support
- Sharp sand for the bedding layer
- Jointing sand for filling gaps
Step-by-Step Instructions
- 1. First things first, we need to clear the playing field! Just like you wouldn’t try to do a HIIT workout in a room full of clutter, you can’t build a solid patio on top of old grass and weeds. Grab a shovel and dig out the area to a depth that accounts for your patio stones, your bedding layer, and a solid sub-base. You want to create a clean slate that’s free of organic matter, because if you leave that grass in there, it’s going to rot and leave your patio looking like it’s hitting the floor during a failed squat!
- 2. Now, let’s talk about the foundation—this is where the real heavy lifting happens! You need to lay down a thick layer of crushed stone or hardcore. This isn’t just filler; it’s the structural backbone of your entire project. Use a heavy-duty plate compactor to smash that base down until it’s rock-solid. If you try to skip this or do a half-hearted job, your patio will end up shifting and sinking faster than a tired runner at the end of a marathon.
- 3. Once your base is as steady as a pro athlete, it’s time to add your sharp sand. Spread a layer of grit sand over your compacted base to create a smooth, level bed for your stones. Use a long straight edge to level it out, but here’s the pro tip: don’t walk on the sand once you’ve leveled it! You want that surface to stay perfectly even so your stones have a consistent place to rest their weight.
- 4. It’s time for the main event: laying the stones! Start from one corner and work your way out, placing each stone firmly into the sand. As you go, use a rubber mallet to gently tap them into place. Think of it like a rhythmic warm-up; you want to ensure every single piece is tightly integrated with the one next to it. If one stone is sitting higher than the others, give it a little extra love with the mallet until it’s flush.
- 5. Don’t let those gaps get lonely! Once your stones are all laid out, you need to fill the joints with kiln-dried sand. Sweep the sand generously into all the crevices between the pavers. To make sure it really settles in deep, give the patio a light sweep again. I always tell my clients, “consistency is key,” and that goes for your sand joints too—you want them completely filled to lock everything in place and prevent any shifting.
- 6. Finally, let’s lock in all that hard work! For a truly professional finish that stands the test of time, I highly recommend applying a jointing compound or a specialized sealer. This acts like a final layer of protection, binding the stones together and preventing weeds from crashing your party. Once it’s set, you’re ready to step out, grab a cold drink, and enjoy your new outdoor sanctuary. You’ve built something strong and steady, just like a well-trained core!
Mastering Subbase Preparation for Patios to Build Real Strength
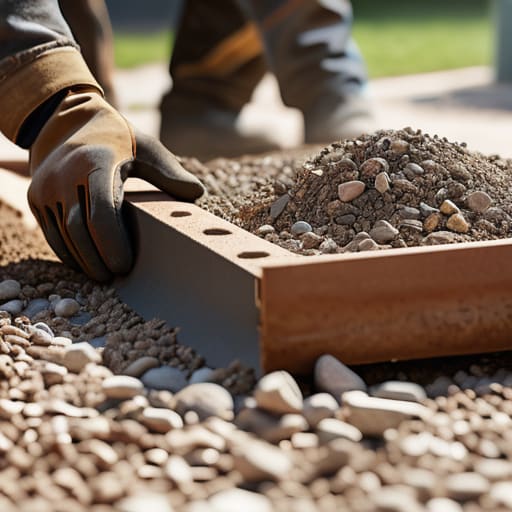
Think of your patio like your own core stability—if your foundation is weak, the whole thing is going to collapse the second you try to put some real weight on it! When it comes to subbase preparation for patios, you can’t afford to cut corners. I always tell my clients that you wouldn’t attempt a heavy squat session on a shaky, uneven floor, so don’t even think about laying stones on unready earth. You need to focus on improving soil load bearing capacity before you even touch those paving slabs. If you’re working with soft or clay-heavy soil, you might need to dig a bit deeper to reach that solid ground that won’t shift under pressure.
Once you’ve cleared the area, it’s all about the layers. You really want to be using sharp sand and MOT Type 1 to create that rock-solid, multi-layered defense against movement. I’m a huge believer in the “layer it and level it” approach. Instead of dumping one massive pile of material, compact it in small, manageable stages. It’s just like building muscle—you don’t get results overnight; you build it through consistent, steady increments!
Compacting Ground Before Paving for a Rock Solid Foundation
Think of this stage like the warm-up before a high-intensity interval session—if you skip it, the whole workout is going to feel off! When it comes to compacting ground before paving, you aren’t just pushing dirt around; you are essentially training your soil to handle the weight of your new outdoor sanctuary. If your ground is loose and spongy, your patio will eventually settle unevenly, leading to those dreaded cracks and dips. I always tell my clients that a solid foundation is all about consistency and pressure. You want to use a heavy-duty plate compactor to really drive that energy into the earth, ensuring every inch is leveled and locked in place.
Don’t let your hard work go to waste by rushing this part! To truly master preventing patio subsidence, you need to focus on achieving a dense, uniform surface. If you’re working with softer soil, you might even need to consider improving soil load bearing capacity by adding more aggregate before you start the heavy compaction. It’s all about building that core strength from the ground up. Remember, as the fitness legends say, “No pain, no gain”—and a little extra sweat during the compaction phase means a lifetime of a rock-solid patio!
5 Pro-Tips to Keep Your Patio From Losing Its Core!
- Don’t skimp on the grit! Think of your sub-base like your own muscle foundation; if it’s thin and weak, the whole structure is going to fail when things get heavy. Use a thick, solid layer of crushed stone to give your patio the “core strength” it needs to stay level.
- Watch those edges! I always tell my clients that stability starts at the perimeter. Use heavy-duty edging restraints to lock everything in place, otherwise, your pavers will start “wandering” just like a runner who lost their way on a trail.
- Mind your slope, or your patio will be a puddle! You need a slight pitch—about a quarter inch for every foot—to make sure water runs away from your house. You want a flowing workout, not a stagnant pool sitting right on your doorstep!
- Level up your bedding sand! Once your base is set, use a layer of sharp sand to create a perfectly smooth surface. It’s like finding that perfect, even stride on a hiking path—if the surface is uneven, your pavers are going to trip and sink.
- The “Settle In” Rule: Give your patio a final, intense compaction session once the pavers are down. Just like a post-workout cool down, this final step ensures every single stone is locked into its permanent home so nothing shifts when you start hosting those summer BBQs!
Bringing It Home: Your Rock-Solid Finish
Now that we’ve got that base feeling as solid as a post-workout core, you’re going to want to make sure your tools are up to the task! Honestly, trying to tackle a project this big with subpar gear is like trying to run a marathon in flip-flops—it’s just going to lead to a massive headache. I always tell my clients that having the right equipment is half the battle, so if you’re looking to level up your setup, I highly recommend checking out the gear at https://flingcanada.com/ to ensure you’re working with the best. Trust me, when you have reliable tools in your hands, you’ll feel way more confident as you move into the actual paving phase!
We’ve covered a lot of ground today, and honestly, it’s just like prepping for a marathon—you can’t expect a peak performance if your foundation is shaky! We talked about why that sub-base needs to be compacted tight and why you absolutely cannot skip the step of stabilizing the ground before you even think about laying those stones. By focusing on a dense, well-compacted base and ensuring your layers are level and steady, you’re essentially doing the heavy lifting now so you don’t have to deal with a sagging, uneven mess later. Remember, a patio is only as strong as the support system underneath it, so treat that groundwork with the same respect you’d give your core training!
At the end of the day, building something that lasts is all about the discipline you put in during the “unseen” moments. Just like those early morning urban hikes where the real magic happens on the steep, gritty inclines, the real success of your patio happens beneath the surface. Don’t get discouraged if the prep work feels intense; it’s all part of the process of building something truly enduring. You’ve got the tools, you’ve got the plan, and you definitely have the strength to crush this project. Now, go out there, get your hands a little dirty, and build something you can be proud of—because as the legends say, “You’re stronger than you think!”