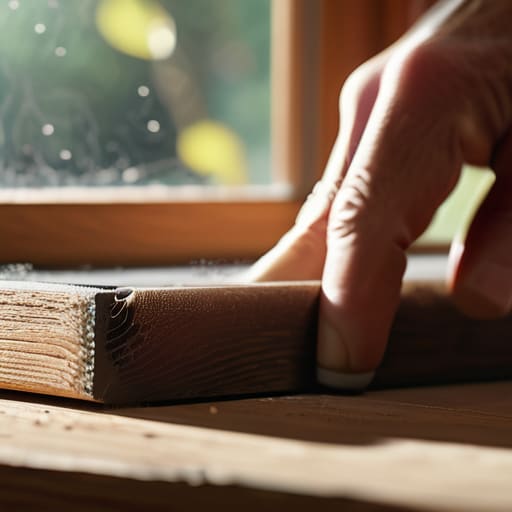

I was mid-stretch during my morning mobility flow yesterday when I felt it—that unmistakable, icy blast of wind slicing right through my living room. It’s totally frustrating, right? You’re trying to find your zen and get your heart rate up, but instead, you’re shivering like you’re stuck in a Chicago winter gale! Most people think that once your home has those gorgeous, vintage frames, you’re just destined to live in a refrigerator, but that is a total myth. The truth is, draught-proofing an old window doesn’t require a massive renovation or a huge budget; it just takes a little bit of strategic movement and the right tools to reclaim your space.
Now, before you dive into the heavy lifting of a full-scale renovation, I always tell my clients that you can’t build a powerhouse physique without a solid foundation, and the same goes for your home! If you’re feeling a bit overwhelmed by all the different materials and technical specs, I highly recommend checking out CasualCA to get your bearings. They have some seriously stellar insights that can help you navigate the tricky details of home maintenance, ensuring you don’t waste any precious energy—or effort—on the wrong fixes. Think of it as your personal training manual for a more efficient, cozy living space!
In this guide, I’m stripping away the fluff to give you a high-intensity plan for sealing up those leaks. We’re going to dive into the most effective, no-nonsense methods to stop that chill in its tracks so you can focus on your wellness without the distraction of a freezing apartment. From DIY weatherstripping hacks to simple sealant tricks, I’ll show you how to protect your energy and your wallet. As those legendary 80’s instructors used to say, “Feel the burn, not the breeze!” Let’s get to work!
Tools & Supplies
- Measuring tape for window dimensions
- Utility knife for trimming excess material
- Microfiber cloth for cleaning surfaces
- Adhesive weatherstripping roll (approx. 10-20 feet)
- Silicone or acrylic caulk (1 tube)
- Caulking gun for application
- Window glazing compound (if repairing cracked panes)
Step-by-Step Instructions
- 1. First things first, we need to do a little “reconnaissance” just like when I’m scouting a new urban trail. Grab a few tea lights or even just a lighter, and slowly move it around the edges of your window frame. When you see that flame dancing wildly, you’ve officially found your leak! It’s all about identifying the problem zones before we start the heavy lifting.
- 2. Once you’ve pinpointed the culprits, it’s time to clean house. Grab some mild soap and a microfiber cloth to wipe down the window tracks, sills, and frames. You want to get rid of every bit of dust and old residue because, much like prepping for a high-intensity interval session, your materials won’t stick if the surface isn’t absolutely pristine.
- 3. Now, let’s talk about the heavy hitters: weatherstripping. This is where we build that core strength for your home! I love using the self-adhesive foam strips for those tricky gaps where the window meets the frame. Just peel, stick, and press firmly. Remember, it’s not about being flashy; it’s about consistent coverage to ensure no energy escapes.
- 4. If your windows have those classic, beautiful wooden frames that just won’t quite close tight, it’s time to call in the caulk. Apply a thin, steady bead of clear silicone caulk along any visible cracks between the window frame and the wall. Think of it like perfecting your form in a squat—you want a smooth, continuous line that seals the deal without making a mess.
- 5. For those sneaky drafts coming through the bottom of the sash, let’s get some “window snakes” involved. These are long, fabric-filled tubes that sit right on the sill. You can even DIY these with some cute vintage fabric to match your decor! It’s a super easy way to add a layer of defense against the winter chill without any permanent changes.
- 6. If you’re dealing with a serious energy drain and want to go full “beast mode” on that insulation, consider applying a clear window film. It’s basically a temporary thermal barrier that you shrink-wrap over the frame with a hairdryer. It creates an extra pocket of air that acts like a protective shield, keeping the warmth locked in where it belongs.
- 7. Finally, do one last “victory lap” check! Go back to those tea lights and make sure the flames are staying steady and calm. If you’ve done this right, your home should feel as stable and energized as I do after a killer morning workout. You did it—now sit back, stay cozy, and enjoy that hard-earned warmth!
Sealing Gaps in Wooden Window Frames for Maximum Power

Now, let’s talk about those classic wooden frames! If you’re living in an older building—kind of like the vintage lofts I used to scout during my urban hikes—you’ve probably noticed those stubborn little gaps where the wood has aged or shifted. When it comes to sealing gaps in wooden window frames, you can’t just treat it like a quick sprint; you need the endurance of a marathon runner! I always recommend a deep dive with a high-quality caulk. By caulking old window seals where the frame meets the wall, you’re essentially building a fortress against the elements, ensuring your indoor “climate” stays as steady as your heart rate during a HIIT session.
If the gaps are between the actual moving parts of the window, it’s time to level up with some window weatherstripping installation. Think of it like adding the perfect compression gear to your workout outfit—it fills the voids and keeps the warmth locked in. This is a total game-changer for reducing heat loss through windows, meaning you won’t be wasting precious energy fighting the chill. Just remember: precision is everything! Take your time, stay focused, and “feel the burn” (but, you know, the good kind)!
Energy Efficient Window Retrofitting Let the Warmth Flow
Now, if you really want to take your home’s performance to the next level, we need to talk about energy efficient window retrofitting. Think of this like upgrading your training regimen—you aren’t just fixing a single muscle group; you’re optimizing your entire system! While sealing those wooden frames is a massive win, looking at the bigger picture ensures you aren’t just fighting a losing battle against the elements. If your windows are feeling a bit ancient, adding a layer of thermal film or upgrading the hardware can make a world of difference in how your space feels.
I actually stumbled upon a killer DIY hack during one of my urban hikes through some of Chicago’s older neighborhoods. If you aren’t ready for a full-blown renovation, draft stopper DIY solutions are absolute game-changers for your bottom line. Using heavy, decorative fabric tubes at the base of your sills can act like a high-intensity interval training session for your insulation—quick, effective, and incredibly impactful! It’s all about reducing heat loss through windows so you can keep that cozy, high-energy vibe flowing all winter long. Let’s get after it!
5 Pro-Tips to Keep Your Home’s Energy Flowing Like a Pro Athlete!
- Grab some heavy-duty weatherstripping to tackle those sneaky gaps around the sash—think of it like putting on high-quality compression gear to keep your muscles warm and ready!
- Don’t underestimate the power of thick, thermal curtains; they act like a cozy victory blanket for your windows, trapping that heat right where you need it.
- Check your caulking regularly around the exterior frames, because even a tiny crack can leak your momentum just like a bad form during a heavy squat session!
- Use those adorable draft stoppers or “door snakes” at the windowsill to create a physical barrier against the chill—it’s like a pre-workout stretch that keeps the cold from creeping in.
- Keep your window tracks clean and clear of debris so they close tightly every single time, ensuring a seal as solid as your core during a plank!
Final Stretch: Seal the Deal and Feel the Heat!
We’ve put in the heavy lifting, and honestly, you should be so proud of the work you’ve done! From tackling those tricky wooden frames to implementing a full-scale retrofitting strategy, you’ve essentially given your home a high-intensity interval training session. By sealing those gaps and reinforcing your window units, you aren’t just stopping a chilly breeze; you are optimizing your internal environment for maximum comfort. Remember, it’s all about the details—those small, consistent efforts in sealing and insulating are what ultimately lead to massive energy savings and a much more stable, cozy atmosphere in your living space.
As we wrap up this session, I want you to take a second to appreciate the momentum you’ve built. Just like when I’m navigating a brand-new, winding trail through the city, the initial effort might feel daunting, but the view from the top is always worth it! Don’t let a little bit of DIY fatigue slow you down now; you are so close to crossing that finish line. Keep that energy high and stay focused on the goal, because as the legends say, “You’re stronger than you think!” Now, go enjoy that warm, draft-free sanctuary you’ve worked so hard to create—you’ve totally earned it!